Creating A Blog
1. Before you can start blogging you must first create a Blog. In your SiteApex admin head to Modules beside the "Site Map". On the left side of the page scroll down until you see "BLOG" and click on it. This will bring up the Blog panel at the top of your page.

2. Once there, click on 'add blog' at the top right of your screen
3. Fill in the following details of the new blog on the 'add blog screen' (as seen below in the screenshot).
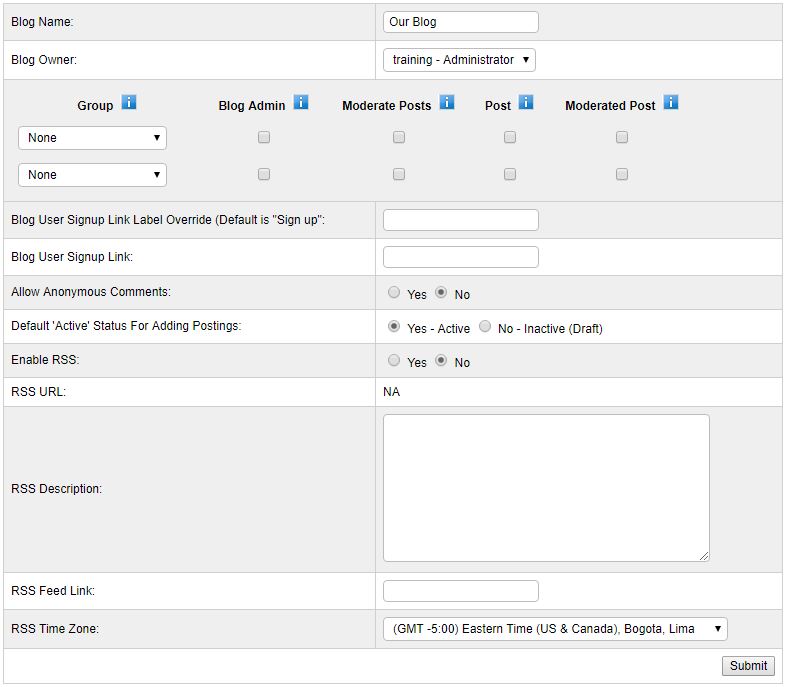
Option Blog Settings
Rights - this section allows you to give other user groups permissions to do various things with your new blog. Click on the " i " buttons for more information
Blog User Signup Link Label Override - this allows you to set unique link text for the below link for users to sign up to your blog (see next setting)
Blog User Sign Up Link - here you can link to a form on your site that allows people to sign up to the blog. Users who sign up will be allowed to post comments on your blog. This link will appear on your blog once it's live on your website. You will need to create the form first.
Allow Anonymous Comments - Allows anybody that visits the blog to make a comment.
Default 'Active' Status For Adding Postings - Forces all new posts to be immediately be live on the blog. Choosing 'No' will place any new posts as drafts first and require making it active later.
Enable RSS - Choose Yes if you wish your blog to have an RSS feed the people can subscribe to
RSS URL - This is your direct XML link to your blog posts. Use this in 3rd party RSS Readers to pull your posts from your blog to their feeds.
RSS Description - This is the description for your RSS feed
RSS Feed Title - This will be the title of your blog's RSS feed
RSS Time Zone - This is the time zone your RSS feed will be set to